

As America Recycles Day approaches, it’s the perfect opportunity for homeschoolers to explore the importance of recycling while unleashing their creativity. This annual celebration encourages us all to think about how we can turn trash into treasure, and what better way to engage your children than with some fun, hands-on activities? In this blog post, we’ll share five enjoyable and educational activities that not only emphasize the value of recycling but also inspire your kids to become more environmentally conscious. Get ready to transform everyday items into something spectacular and make this America Recycles Day a memorable one for your family!
Science: The Magic of Recycling
Compost in a Jar
Dive into the fascinating world of decomposition by creating your very own miniature ecosystem in a jar! Witness “nature’s recycling process” as organic matter breaks down and transforms into nutrient-rich soil. This hands-on experiment allows children to observe the interconnected web of life as bacteria, fungi, and other decomposers work together to break down plant material.
- A clear jar or plastic container with a lid (this could be a mason jar or a liter bottle)
- Soil (about 2-3 cups)
- “Brown” scraps (such as paper bags, dry leaves, cardboard, sawdust, etc.)
- “Green” scraps (such as coffee grounds, fruit or vegetable scraps, etc.)
- Water
- Paper towels or cloth (for covering the jar)
- Rubber band or string (to secure the cloth)
- Spoon (for mixing)
- Sand (optional)
Prepare the container.
Clean your jar or plastic container to ensure there is no leftover residue inside. If you’re using a bottle, cut it in half to create two open sides. Leave the top on if you’re using a mason jar with a lid.
Layer the compost ingredients.
Layer 1 – Soil: Start by adding a small layer (about 1-2 inches) of soil at the bottom of the jar. Soil provides microorganisms that help break down the organic matter.
Layer 2 – Organic Scraps: Add a layer of brown and green scraps. Make sure the pieces are small to help them break down more easily.
Layer 3 – Soil: Add another thin layer of soil to cover the scraps. This helps trap moisture and keep odors at bay.
Optional Layer – Sand: If you’d like, add a thin layer of sand. Sand helps with drainage and can make it easier to stir the compost in the jar.
Add water.
Lightly sprinkle water over the top layer. Compost needs moisture, but not too much – just enough to make the material damp, like a wrung-out sponge. Too much water can cause the compost to become soggy and smelly.
Seal and label.
Cover the jar with a paper towel or cloth to allow air circulation while keeping bugs out. Use a rubber band or string to secure the cloth. Label the jar with the date. You can also draw a picture of a composting symbol or write “Compost Jar” to make it more fun!
Shake and observe.
Every few days, gently shake/stir to mix the compost. You might also need to add a little more water (be sure the compost remains moist!). You can also open the jar to check the progress. Look for signs of decomposition, like changes in the color or texture of the materials.
Talk about the process of decomposition – how microorganisms break down the organic matter and turn it into compost that can be used to enrich soil.
Wait and watch.
Over the course of 1-2 weeks, observe the changes happening inside the jar. Depending on the temperature and the material used, it can take longer or shorter for decomposition to occur. Keep a compost journal to record the changes, including how the materials look and smell.
Discuss the results.
After about 2-3 weeks, you should begin to see the organic materials breaking down. The texture of the soil will change, and it may smell earthy. What else do you notice?
THINGS TO KEEP IN MIND:
- Materials to Use: Only use organic materials – fruit scraps, vegetable peels, coffee grounds, paper, etc. Avoid using meat, dairy, or oily foods, as these can create bad odors and attract pests.
- The Importance of Aeration: Aerating (mixing) the compost every few days is key. This introduces oxygen, which is necessary for the microorganisms to break down the organic matter efficiently.
Social Studies: Culture & Recycling
Research Project on Global Recycling Practices
While America Recycles Day celebrates sustainability at home, it’s also a perfect opportunity to zoom out and explore how other countries tackle recycling. This activity invites children to become global investigators, uncovering the diverse ways nations manage waste, protect the environment, and promote eco-conscious living. Children build research, geography, and presentation skills while fostering empathy and global responsibility – perfect for a well-rounded homeschool experience.
Math: Money & Budgeting
Recycling Center
Transform your home into a mini recycling economy where kids learn the value of sustainability and money management. Start by helping children identify common recyclable items around the house—plastic bottles, aluminum cans, cardboard, paper, glass jars, etc. Assign each item a pretend monetary value based on its type, size, or frequency of use. For example:
| ITEM | PRETEND VALUE |
|---|---|
| Glass Jar | $0.15 |
| Plastic Bottle | $0.10 |
| Aluminum Can | $0.05 |
| Cardboard Box | $.25 |
| Paper Scrap | $.01 |
Designate a space as your official “Recycling Center”. Create signage, price charts, and even a pretend cash register or coin jar. Kids can “deposit” items and receive play money or keep track of their earnings on a chart. Have them add up totals, make change, and count coins. As an extension, let them set savings goals or decide how to “spend” their earnings — maybe a special privilege, homemade coupon or small treat.
Literature & Writing: The Story of Recycling
A Day in the Life of a Recycled Object
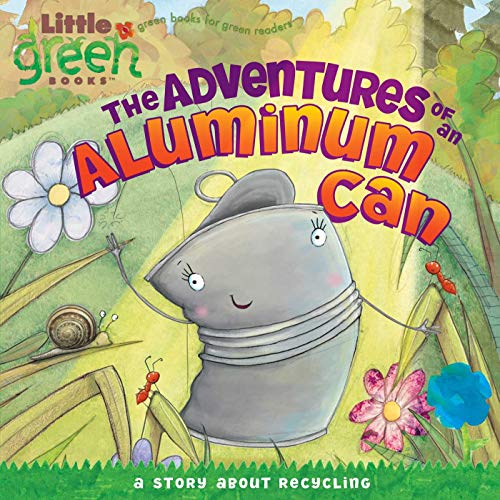
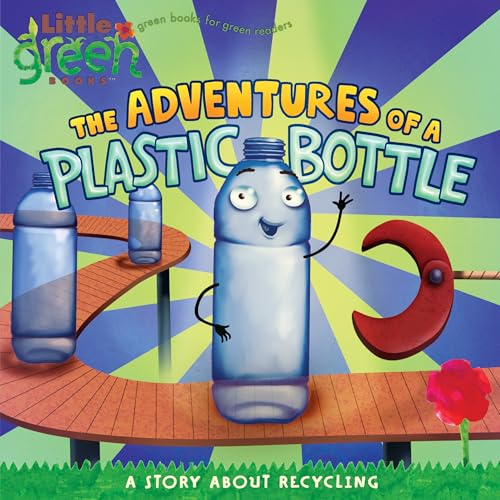
Read “The Adventures of an Aluminum Can” or “The Adventures of a Plastic Bottle“. Then have children imagine that a recyclable object (like a cardboard box or old newspaper) could talk. Have them write a story from the perspective of that object, explaining where it’s been, what it’s seen, and why it’s excited to be recycled.
Dr. Seuss’ “The Lorax” is another classic tale with a recycling theme.

Art: The Story of Recycling
Recycled Art Project
Invite children to explore the creative potential of everyday waste by transforming recyclable materials into original works of art. Begin by having them gather clean, safe recyclables from around the house—think cardboard boxes, plastic bottles, paper scraps, tin cans, fabric remnants, and more. Encourage them to sort and brainstorm what each item could become.
Once materials are collected, challenge them to design and build one of the following:
- A sculpture: Create an animal, robot, or abstract form using layered cardboard, twisted paper, and bottle caps.
- A mixed-media painting: Glue textured scraps onto a canvas or cardboard base, then paint over or around them to create a vibrant scene.
- A functional object: Construct something useful — like a pencil holder from cans, a lamp base from stacked bottles, or even a small stool or table using boxes and tape. You can add a STEM twist by discussing structural integrity and weight distribution for functional builds.
Host a gallery walk at home where each child presents their creation and explains the materials used. As an extension, you could tie in writing practice by having them name their piece and write a short artist’s statement or recycling reflection.
This America Recycles Day, let learning spark action—choose one activity to start with, or challenge your students to complete them all. The planet is waiting for their ideas!
Affiliate Disclosure: As an Amazon Associate, I may earn commission from qualifying purchases from Amazon.com.